Q: 1. How do you take a triple tray impression and how do you make a temporary?

Figure 1
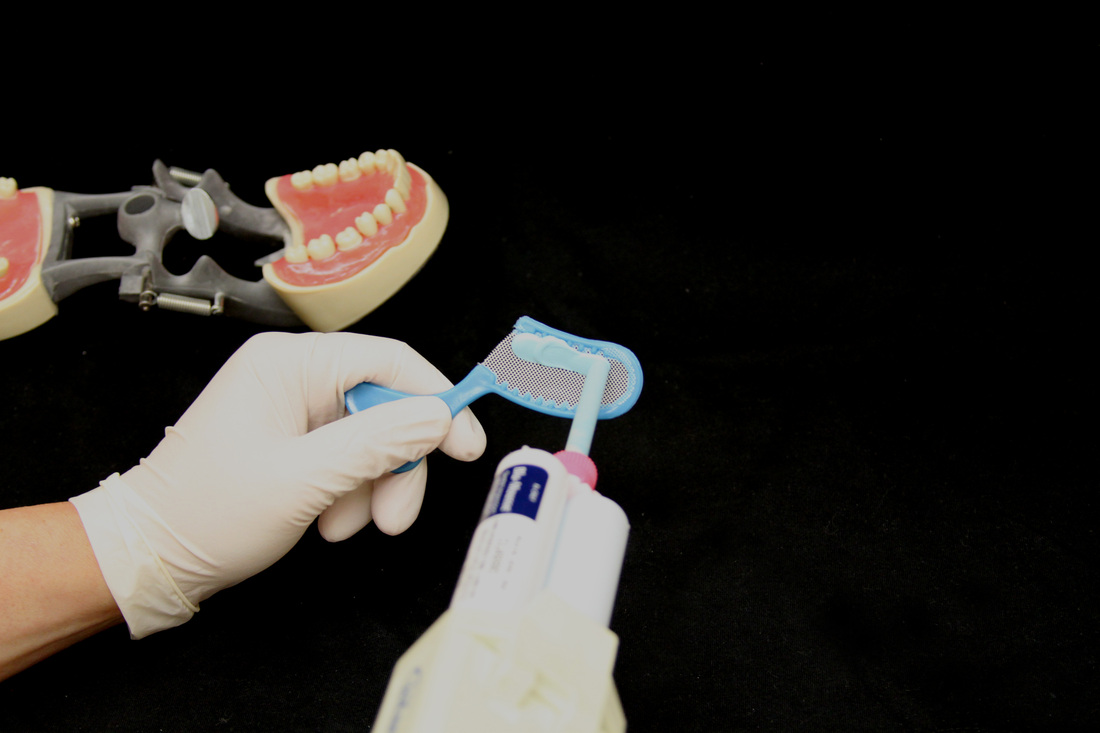
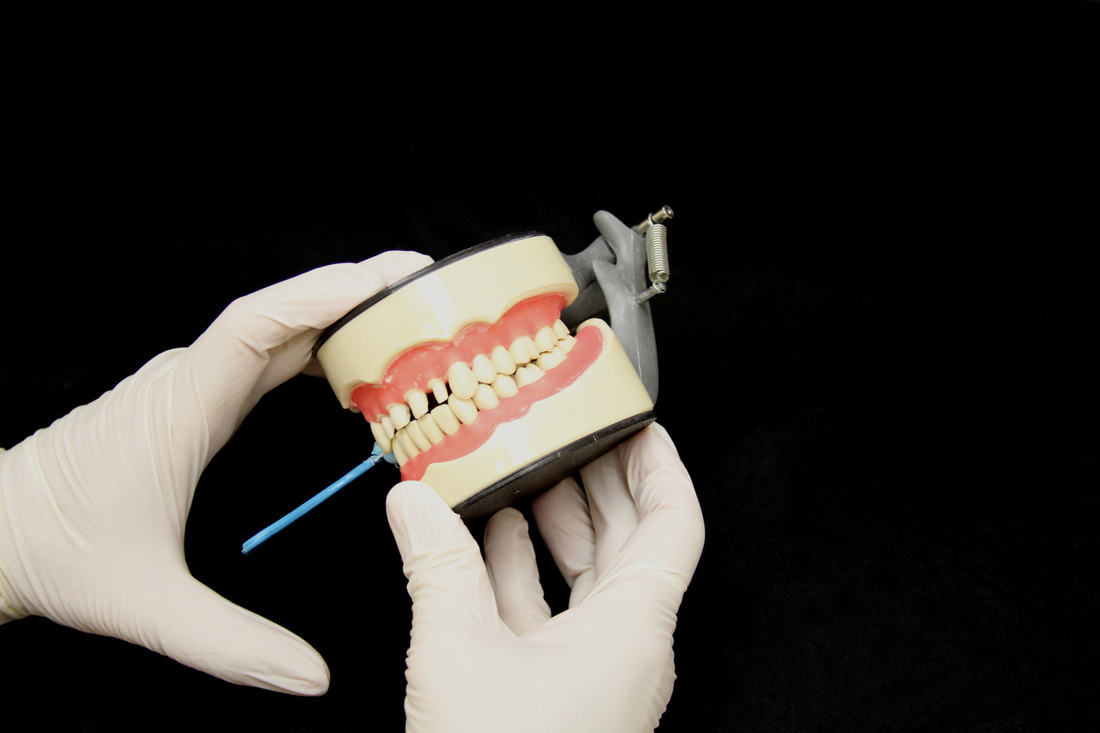
A: There are many ways to take triple tray impression. The following is a variation of the most common triple tray technique. First of all you need a boarderless tray (see Figure 1). It can be rigid or flexible, but flexible is better. Make sure the boarder does not infringe upon the gum, otherwise you might get a distorted impression.
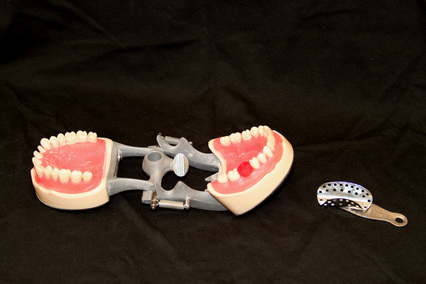
Figure 2
Before you cut the prep take an alginate impression of the tooth. If the tooth is too broken down, take a piece of red utility wax and add to the tooth (see Figure 2). We use the following impression materials: Blu-Mousse Classic Thixotropic Vinyl Polysiloxane with 2-min set and Aquasil Ultra XLV Smart Weting Impression Material with Regular set (see Figure 3).
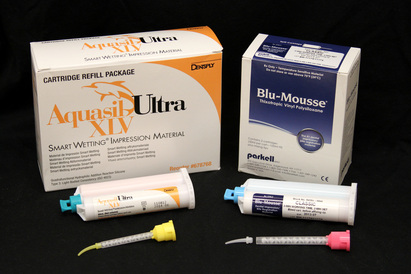
Figure 3
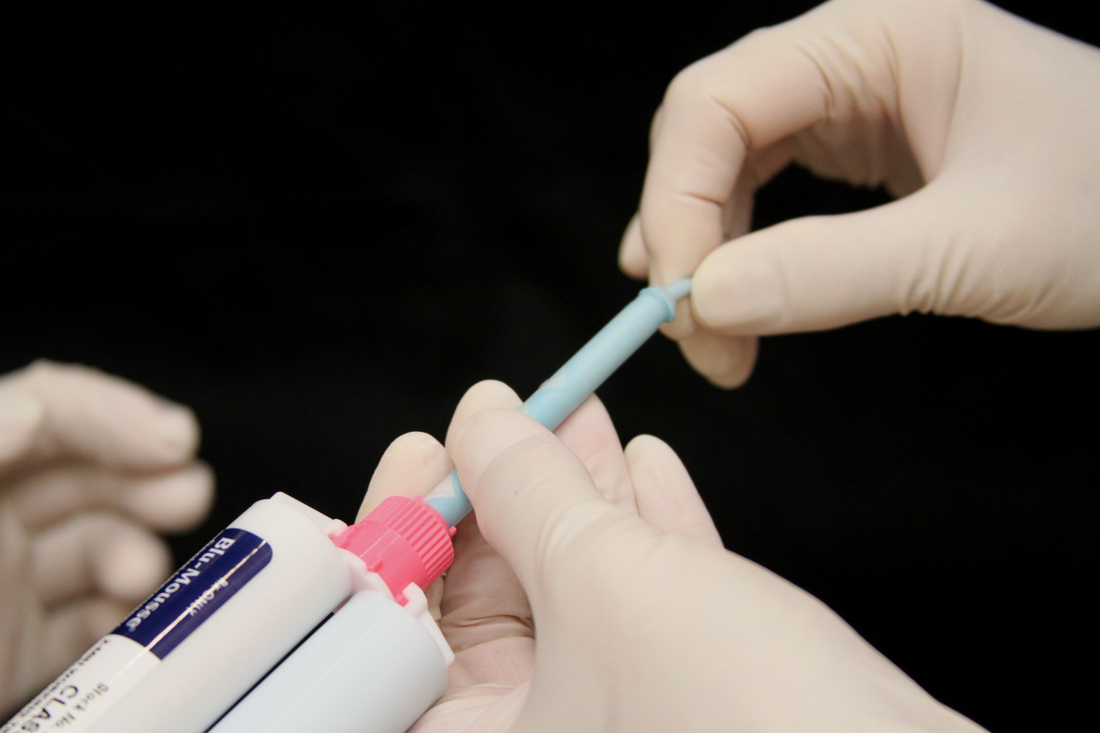
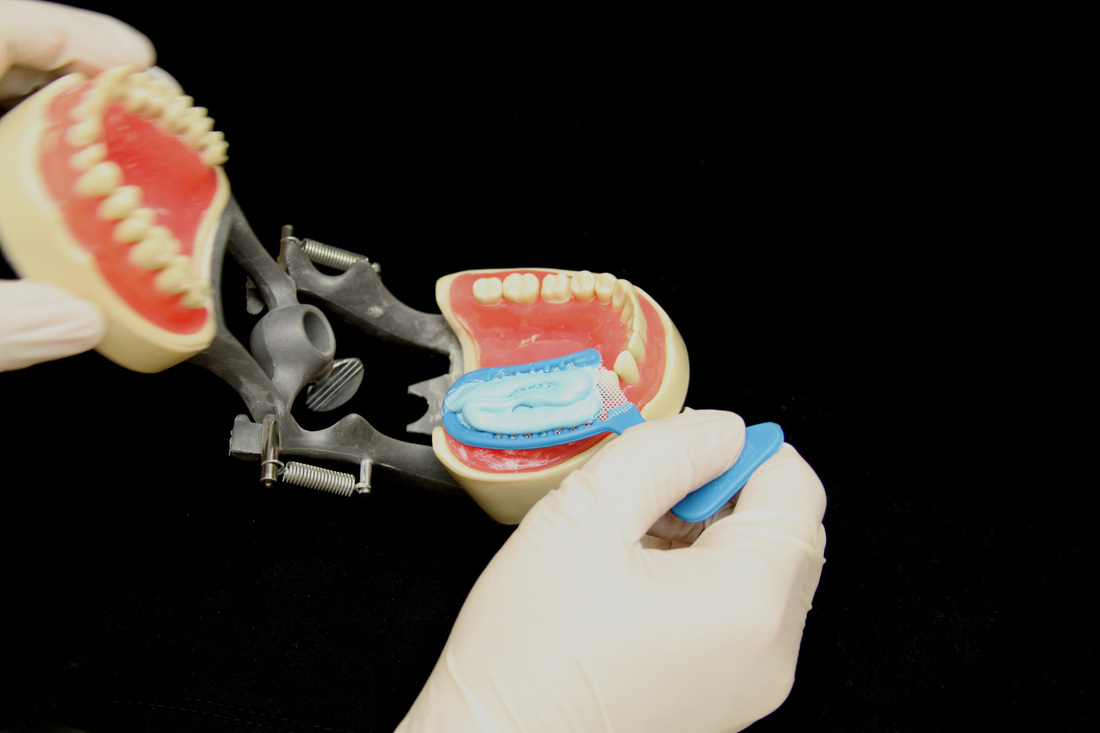
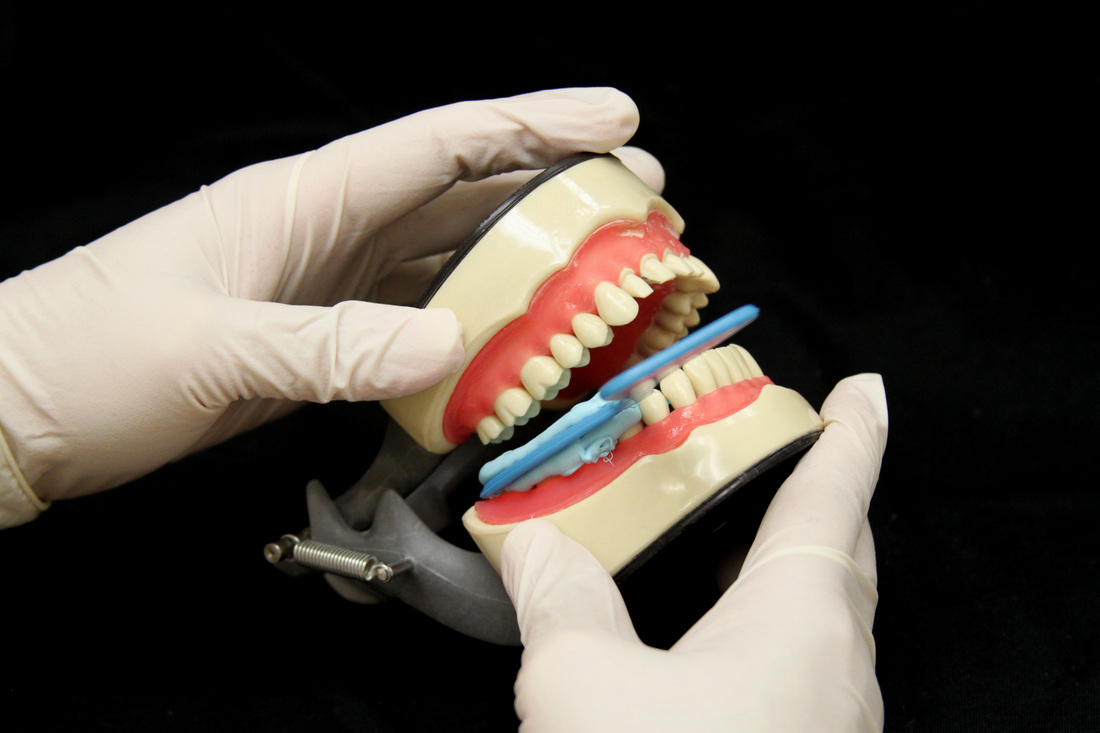
After you cut the prep inject Blu-Mousse impression material to both side of the impression tray (see Figure 4). Immediately connect the impression tip to the mixing barrel (see Figure 5) and inject the Blu-Mousse impression material around the sulcus and over the top of the prep (see Figure 6). Insert the triple tray into patient's mouth and have the patient bite down completely (see Figure 7 & 8). Check the other side of patient's mouth to make sure you have a complete bite (see Figure 9).
Figures 4 - 9 (click picture for larger image)

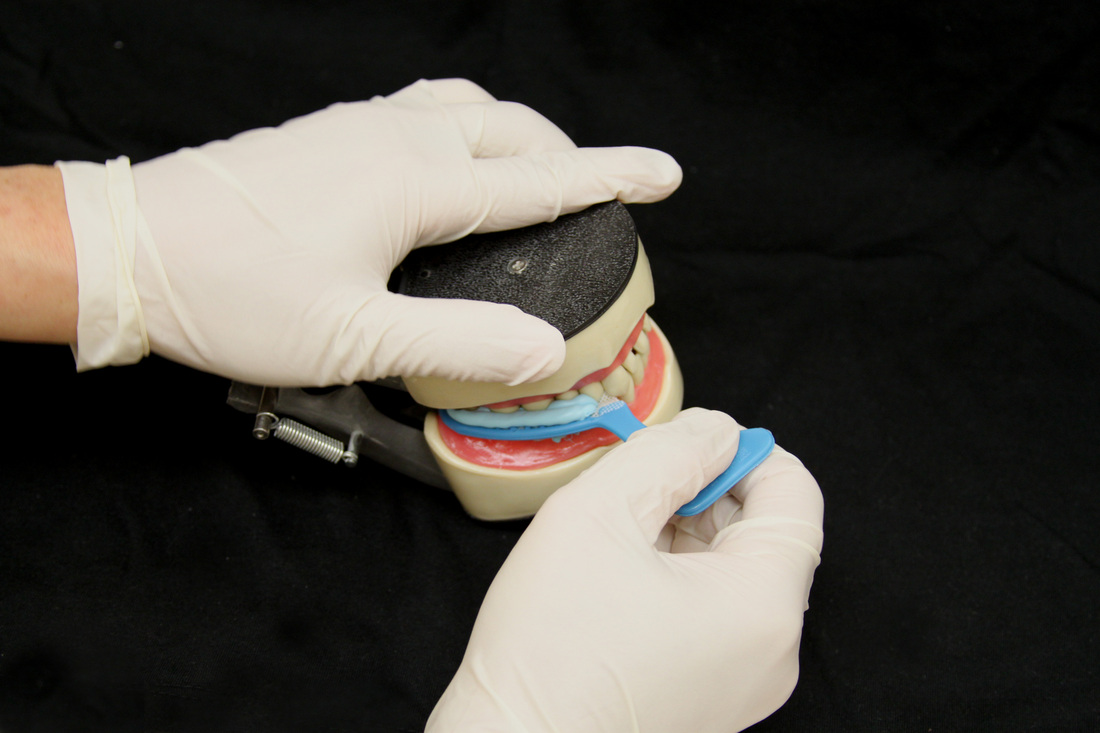
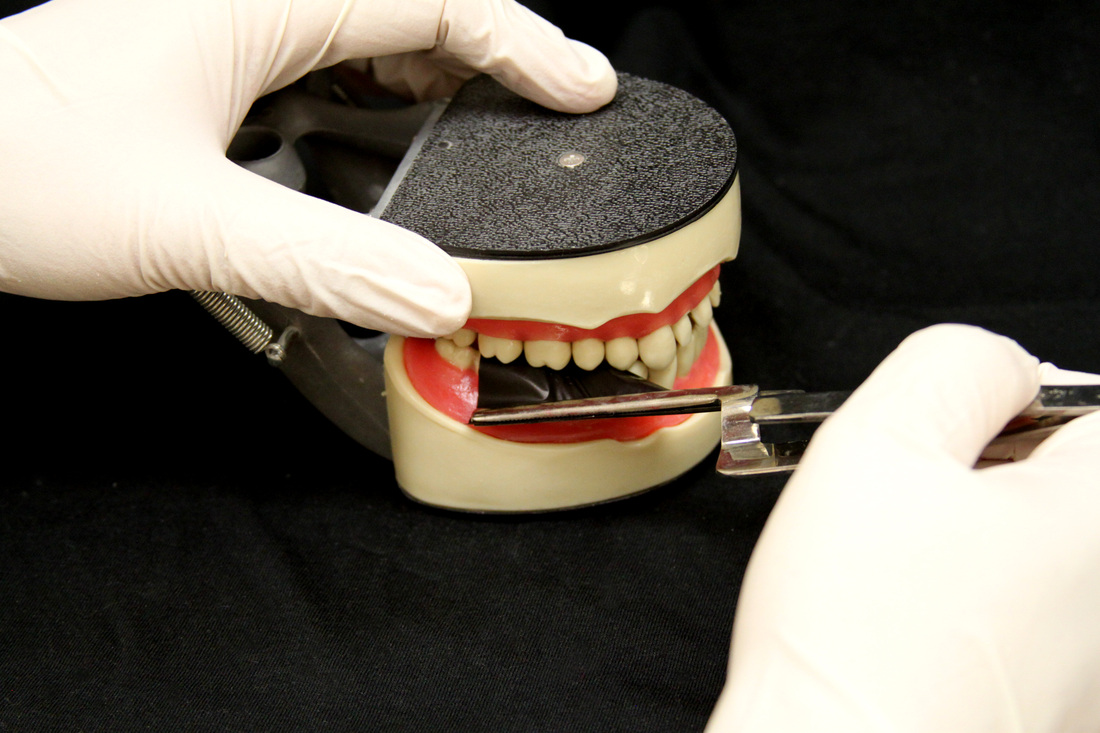
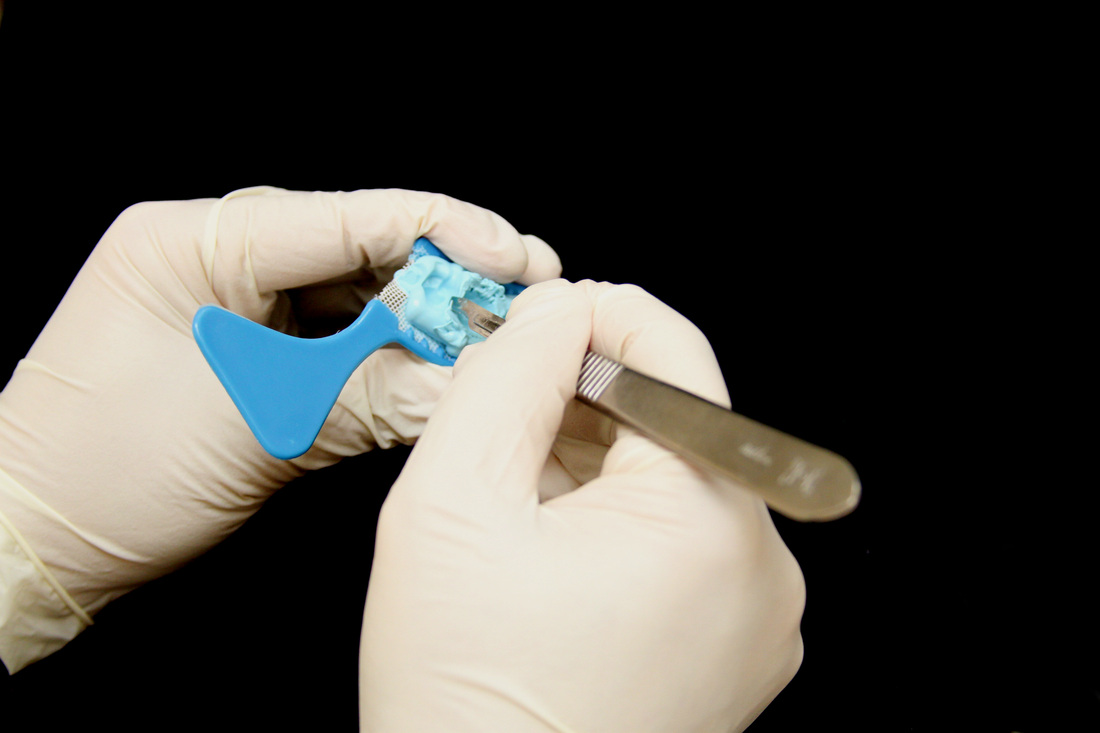
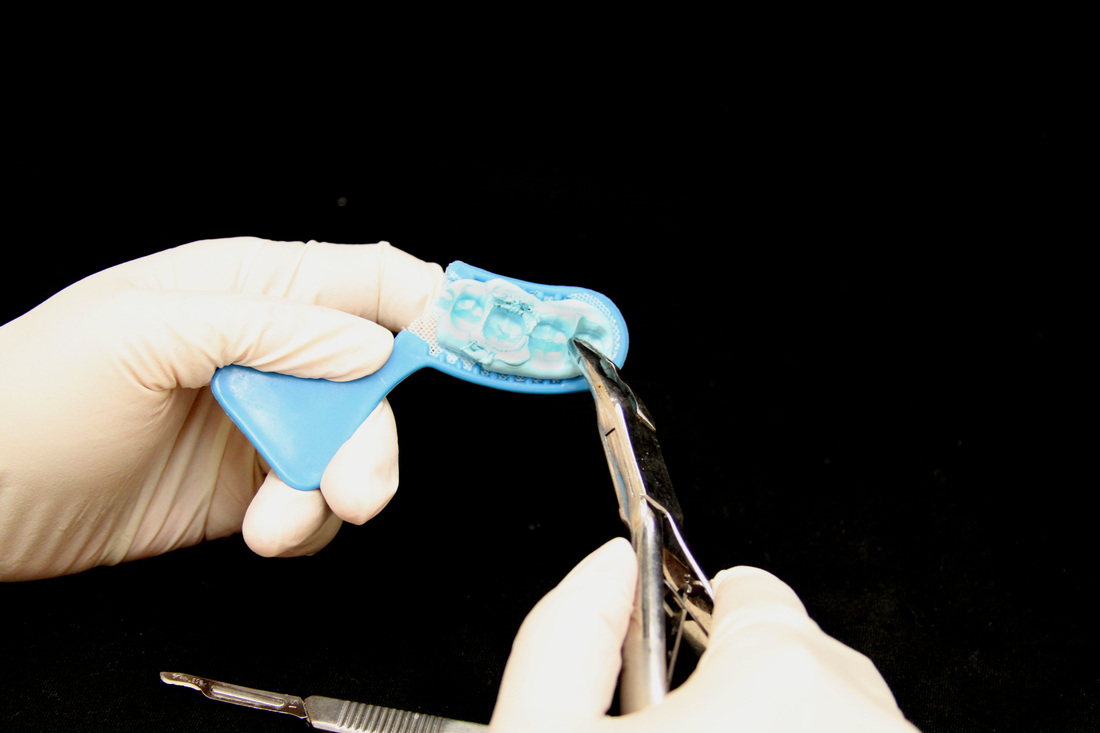
Rinse the impression tray with cold water. If there are some blood that trapped inside the impression, or any other undercut area, just cut it off with a number 15 blade (see Figure 10). Also remove any protruding fins with a pair of Rongeurs from both sides of the impression (see Figure 11). Try the impression back into patient's mouth and have the patient bite down (see Figures 12-14). If you hear a click sound that means the patient has bitten off a piece of impression material, remove the broken pieces of impression material and any other area that may interfere with normal bite by using the number 15 blade (see Figure 15). Repeat this several times until you get a smooth bite.
Figures 9 - 14 (Click picture for larger image)

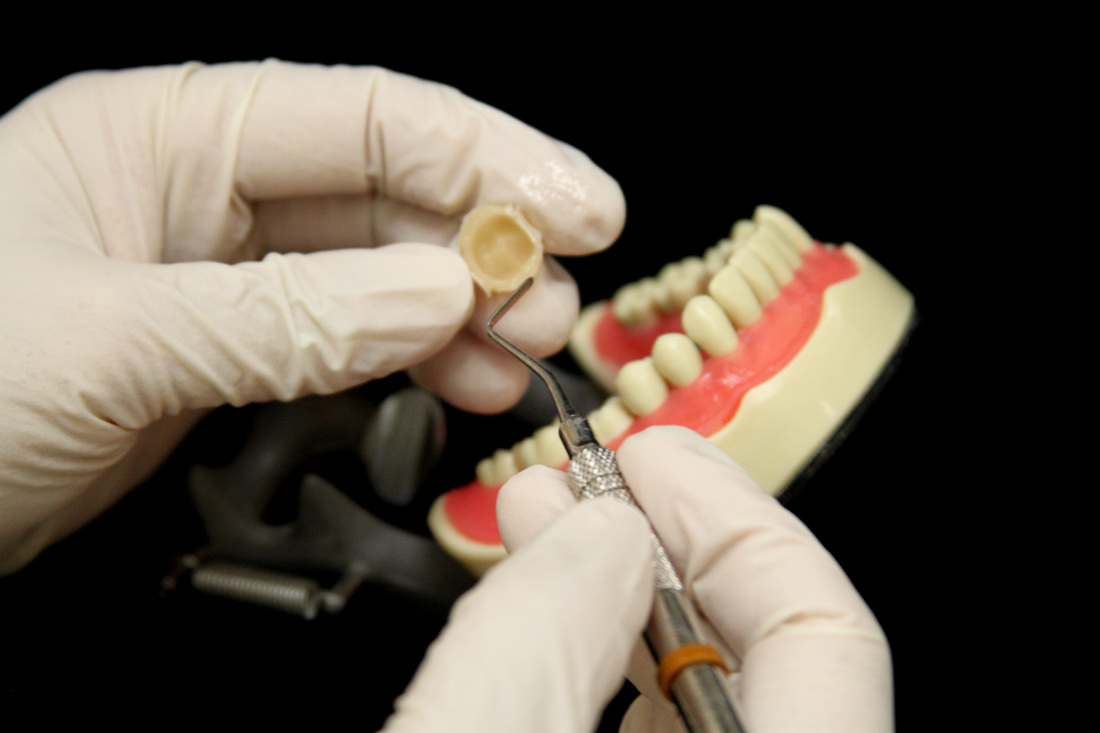
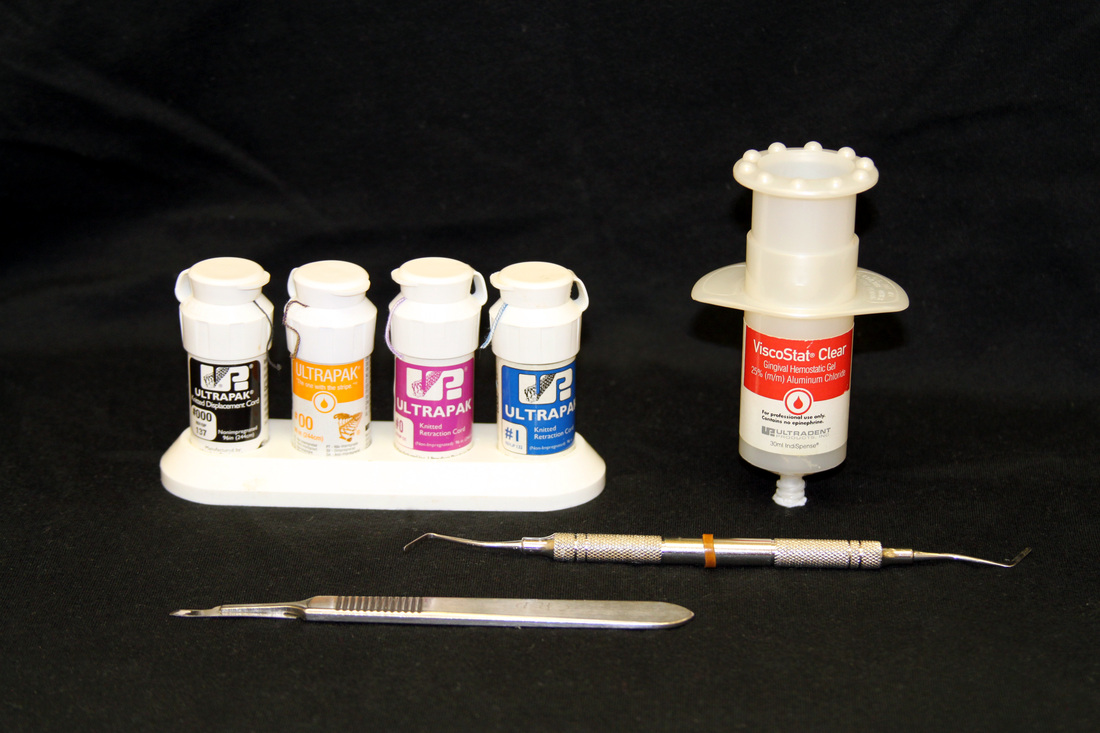
Now you're ready to pack cord. The cord we use are Ultrapak Knitted Displacement Cord size #0000, #00, #0, #1 and the hemostatic agent we use is Ultradent ViscoStat Clear (see Figure 16). You can use either a one cord or two cord technique . After 4 minutes remove the cord and rinse the preps with cold water and make sure there are no coagulated blood around the prep. Inject the wash material into the impression tray (see Figure 17) and put into patient's mouth and have the patient bite down normally (see Figure 18-19). Check the other side of the patient's teeth to make sure the bite is correct (see Figure 20). Here is your final impression (see Figure 21).
Figures 16 - 21 (Click picture for larger image)
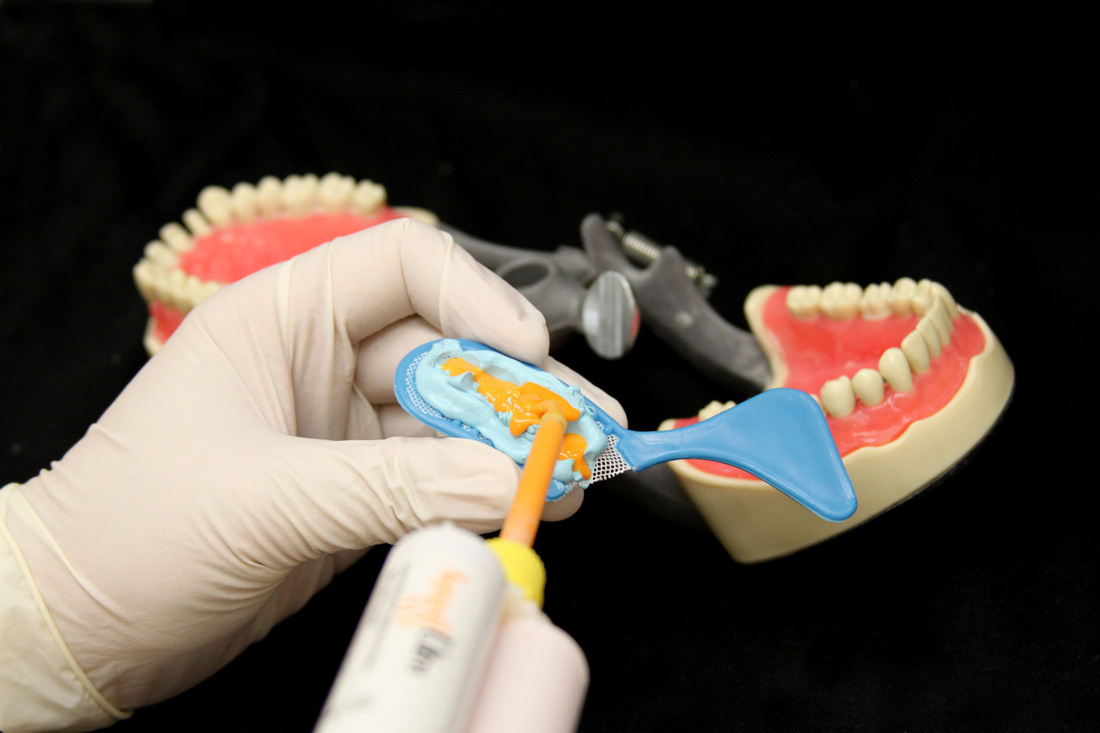
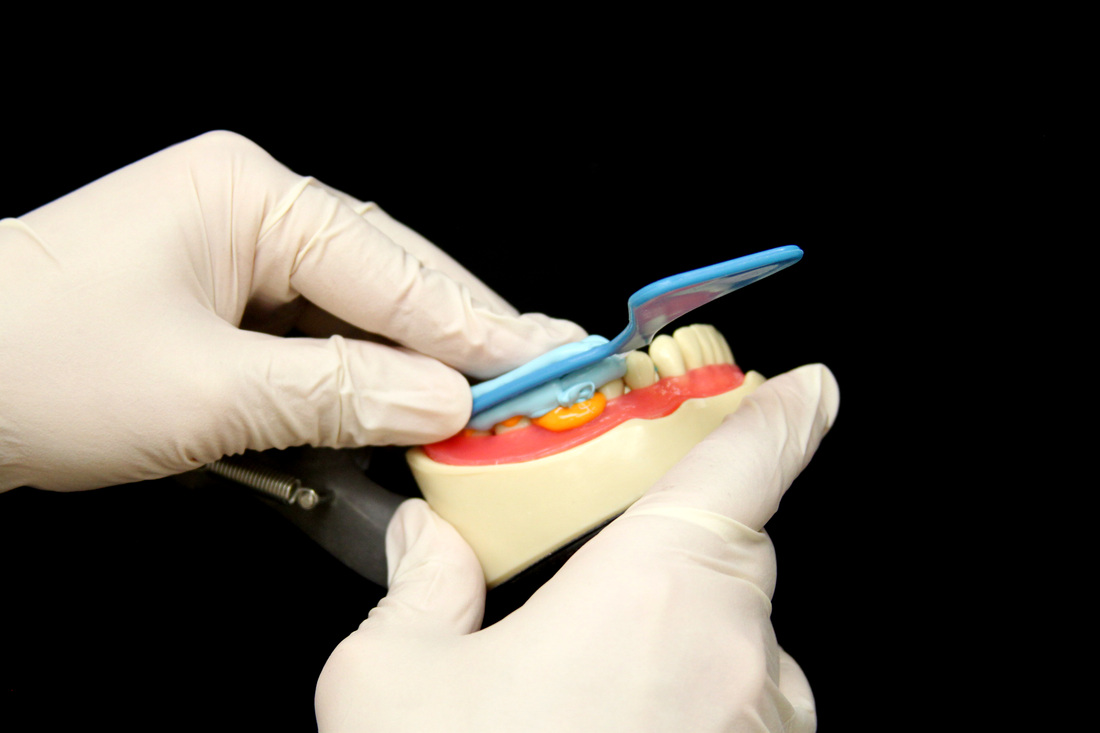
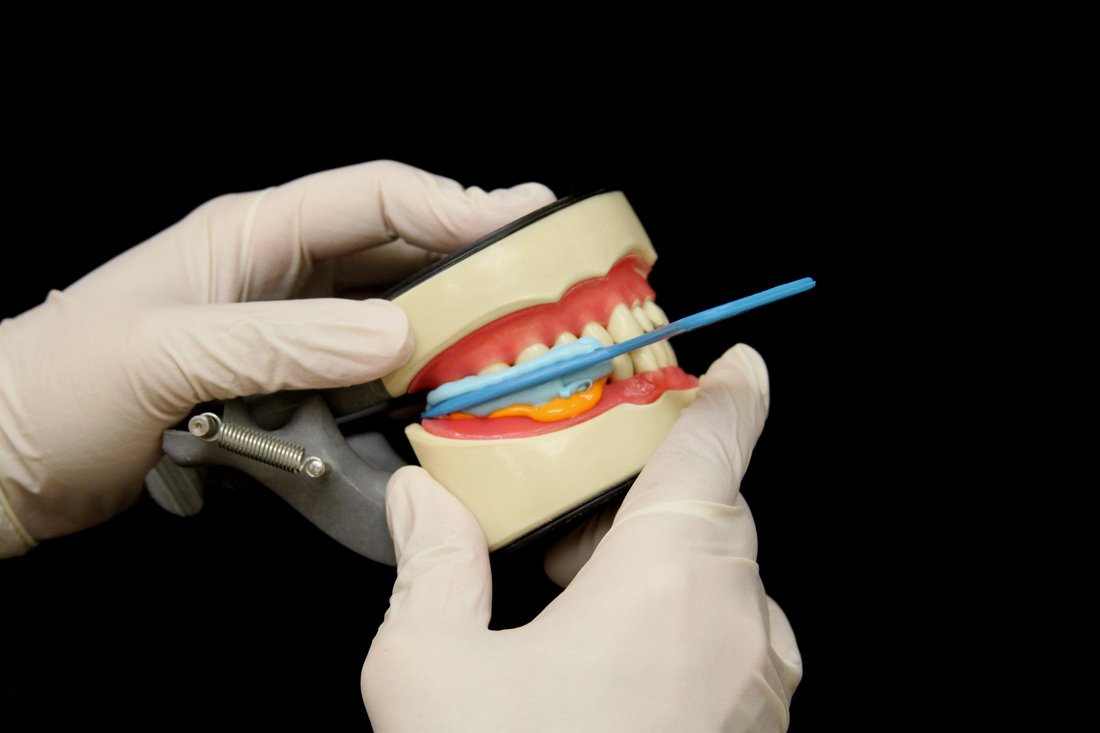


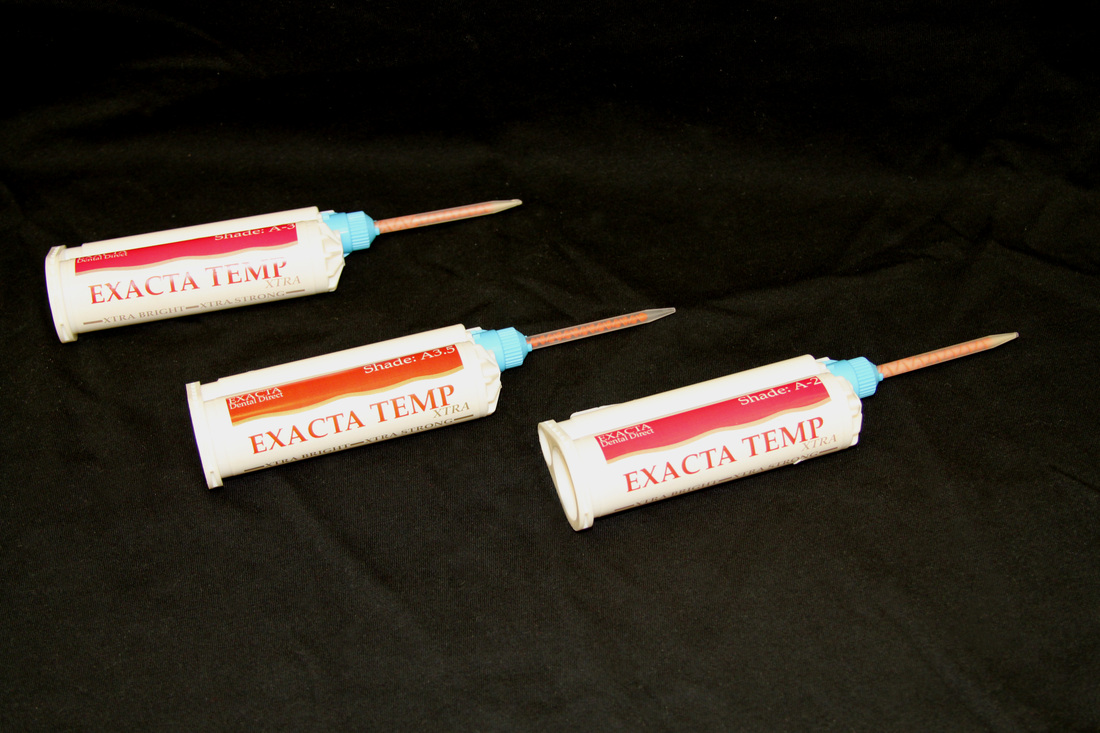
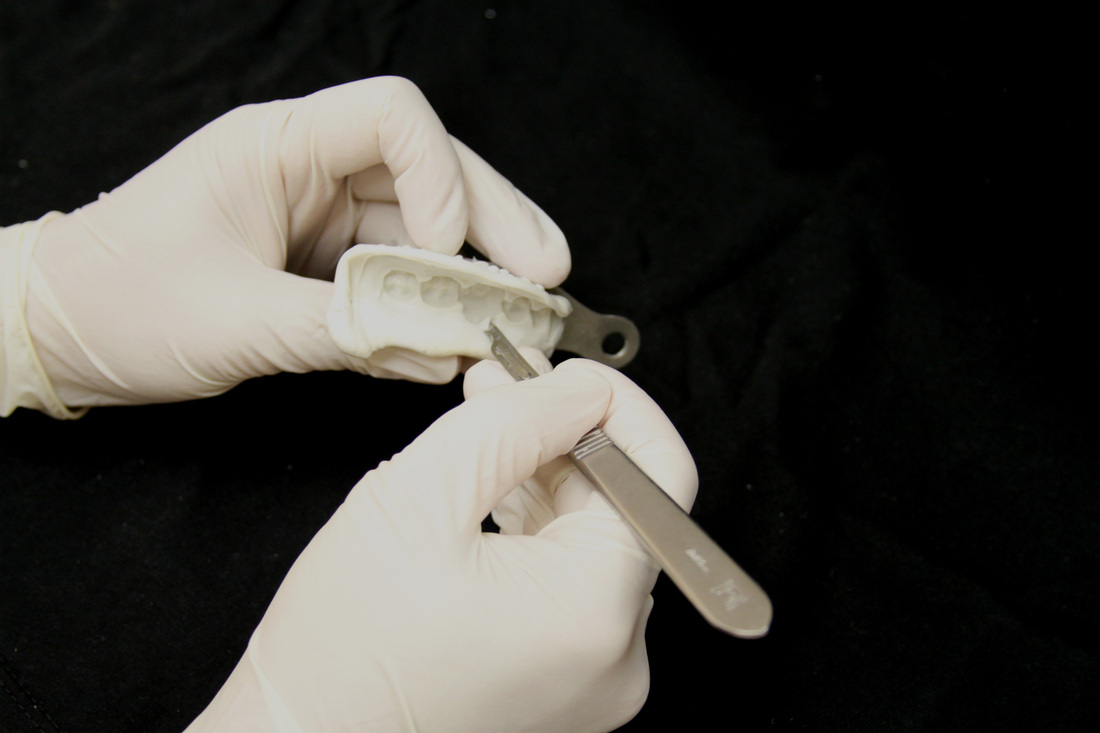
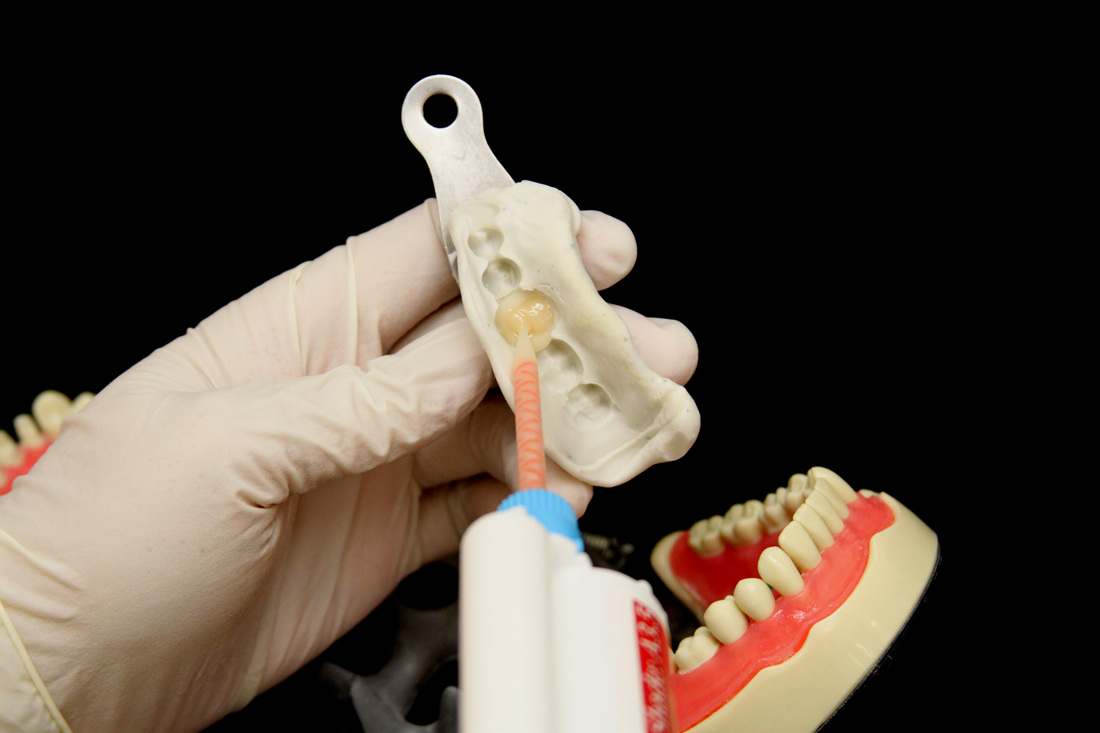
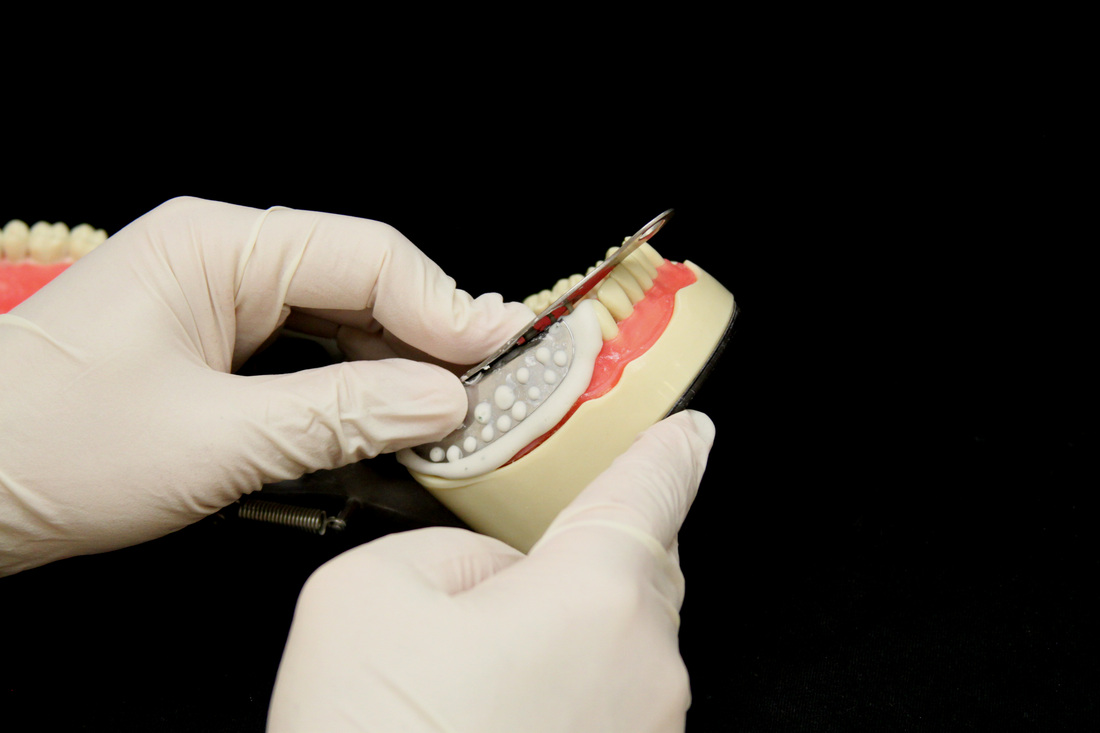
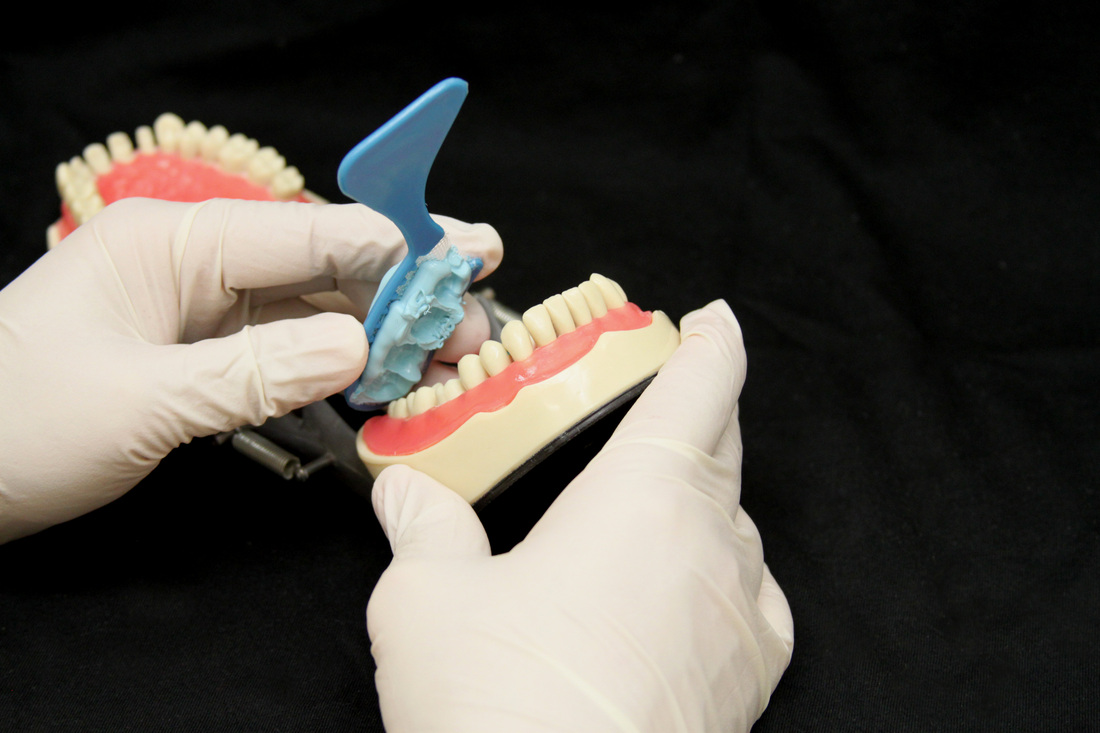
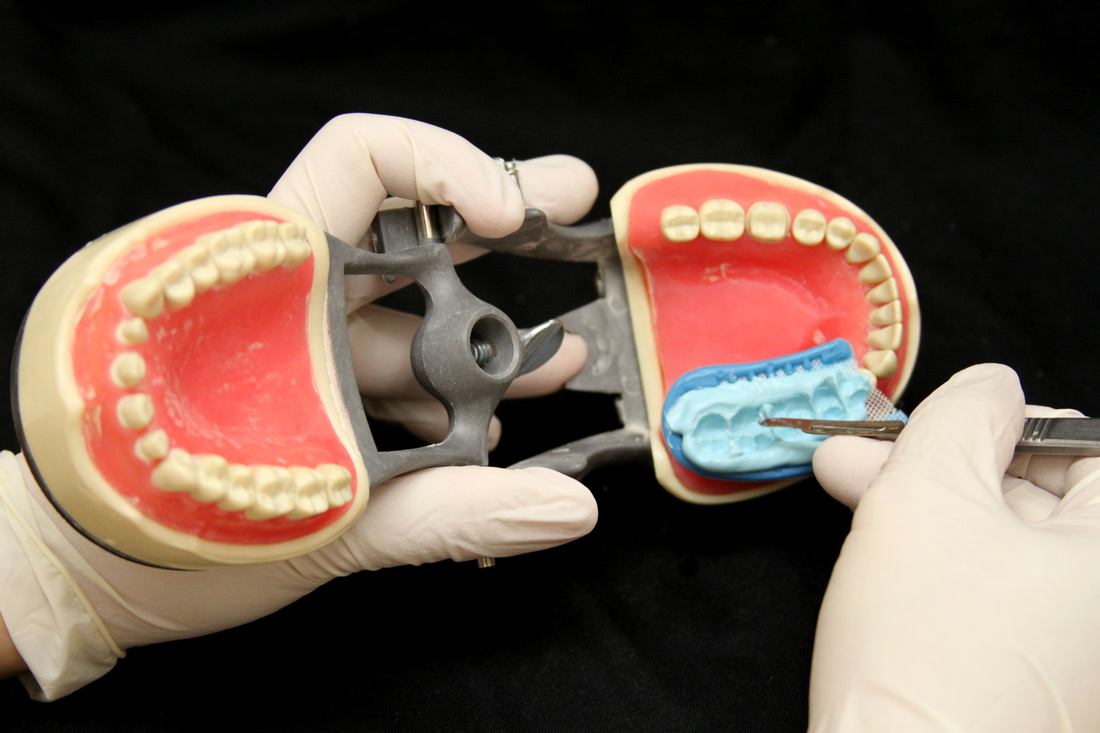
Now you are ready to make the temporary. The material we use are Exacta Temp Shade: A-1 to A-3.5 (see Figure 21). Use the alginate impression we take before the prep and remove a strip of alginate from the buccal and lingual area of the impression (see Figure 22). This will make the temporary margin thicker and prevent it from tearing when you remove the temporary from the prep (see Figure 25). Inject the Exacta Temp material into the alginate impression only where the prep is and put it back into patient's mouth (see Figure 23-24). There is no need for the patient to bite down. After 1.5 minutes remove the alginate impression, you should see the thick margin around the temporary. Mark the contact area with a pencil, so you do not trim it accidentaly. Trim and adjust the occlusion and cement the temporary with Vaseline and GC FujiCEM (see Figure 26).
Figures 21 - 26 (click picture for larger image)